


|
|
|
|
|
|
|
|
|
|
 |
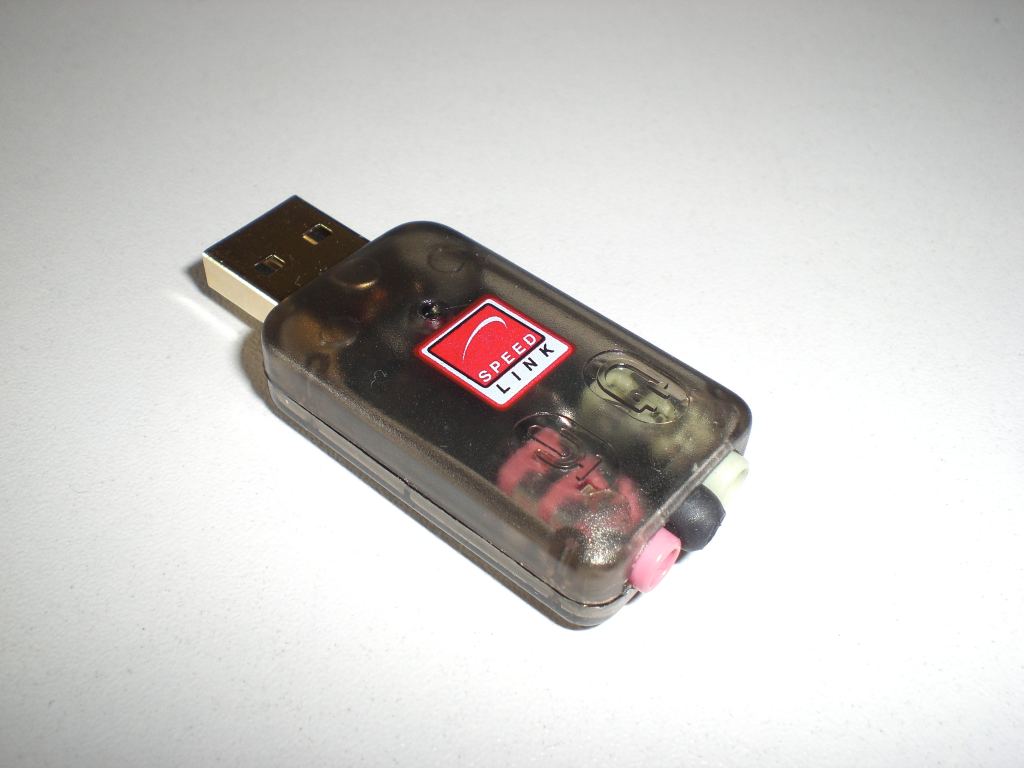
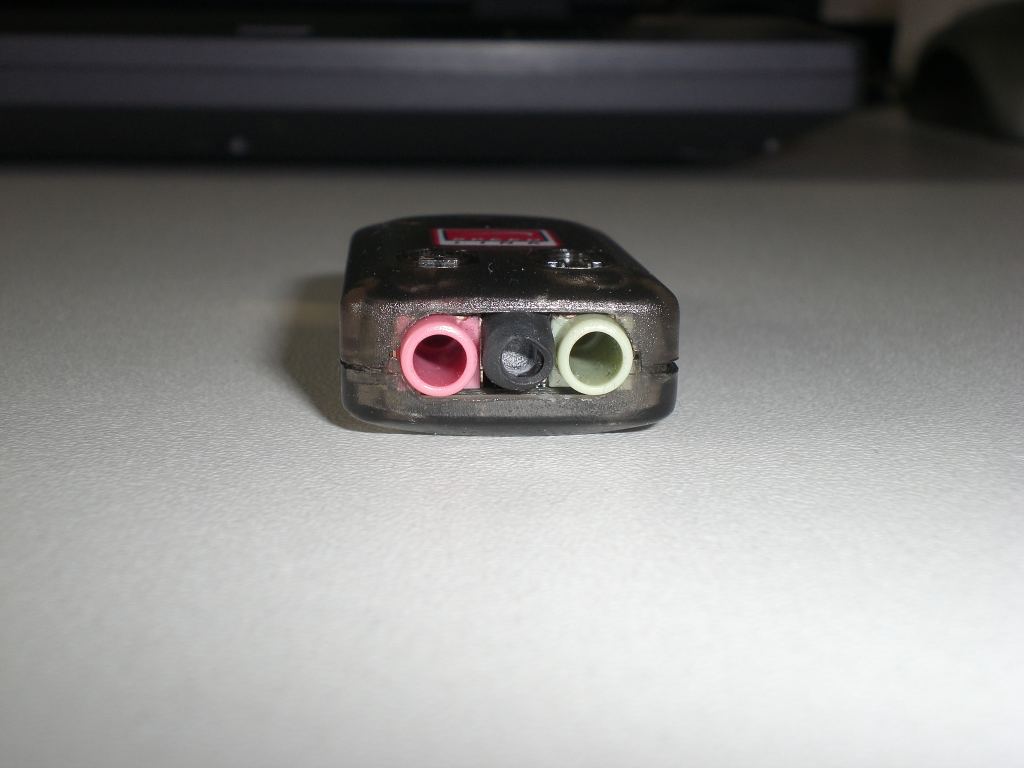
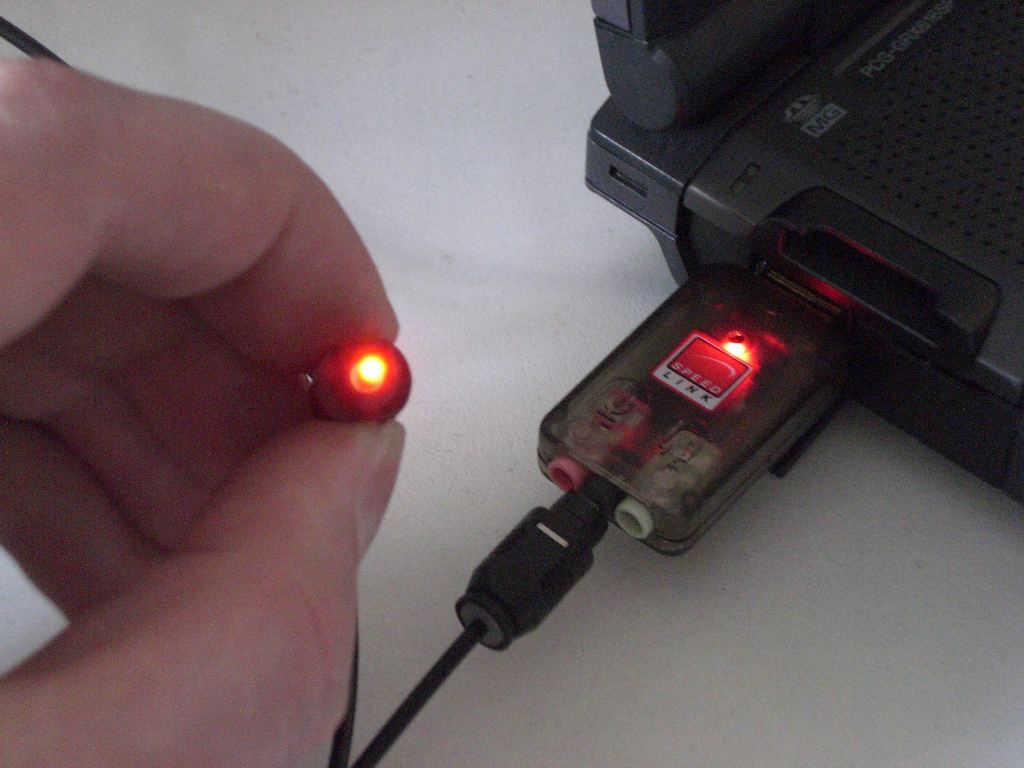
| 1x | SPEED-LINK UltraPortable Audio Card | Get it from Amazon. |
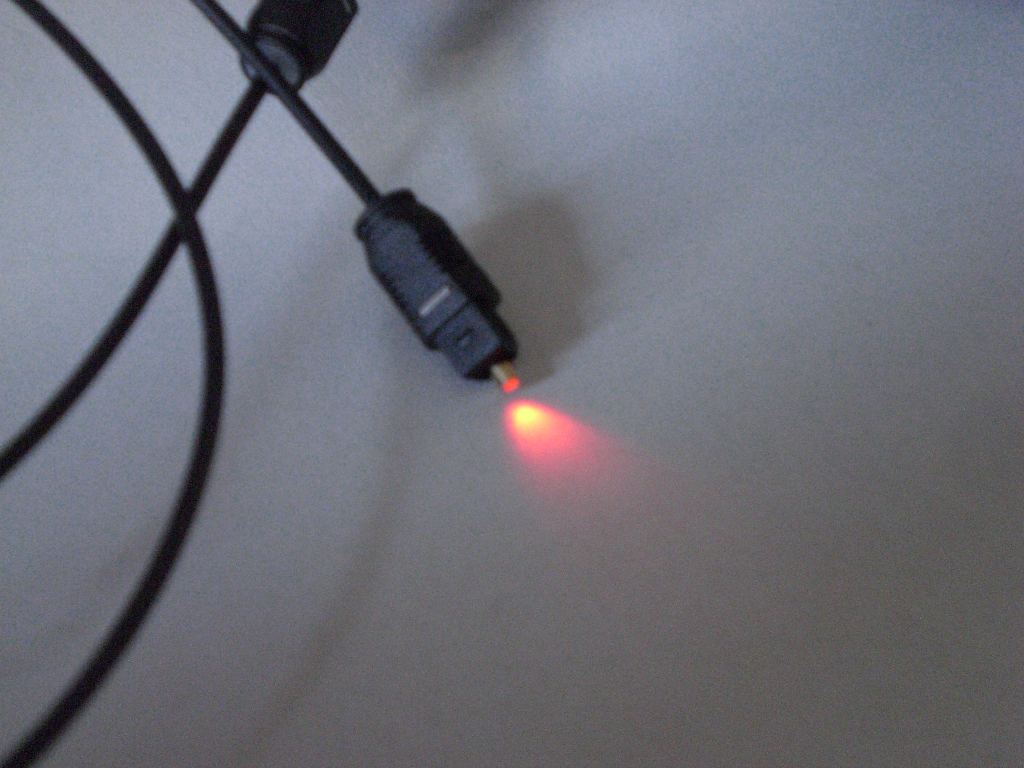
| 1x | 5mm LED Red Ultrabright | |
| 1x | Transistor NPN (eg. BC547) | |
| 1x | Resistor 100Ohm | |
| 1x | SMD-Resistor 1kOhm | |
| 1x | SMD-Capacitor 1nF | |
| 1x | Shottky Diode (eg. BAT48) | |
| Some shrinking tube and a bit of hot glue |
| |
Soldering iron and soldering skills |
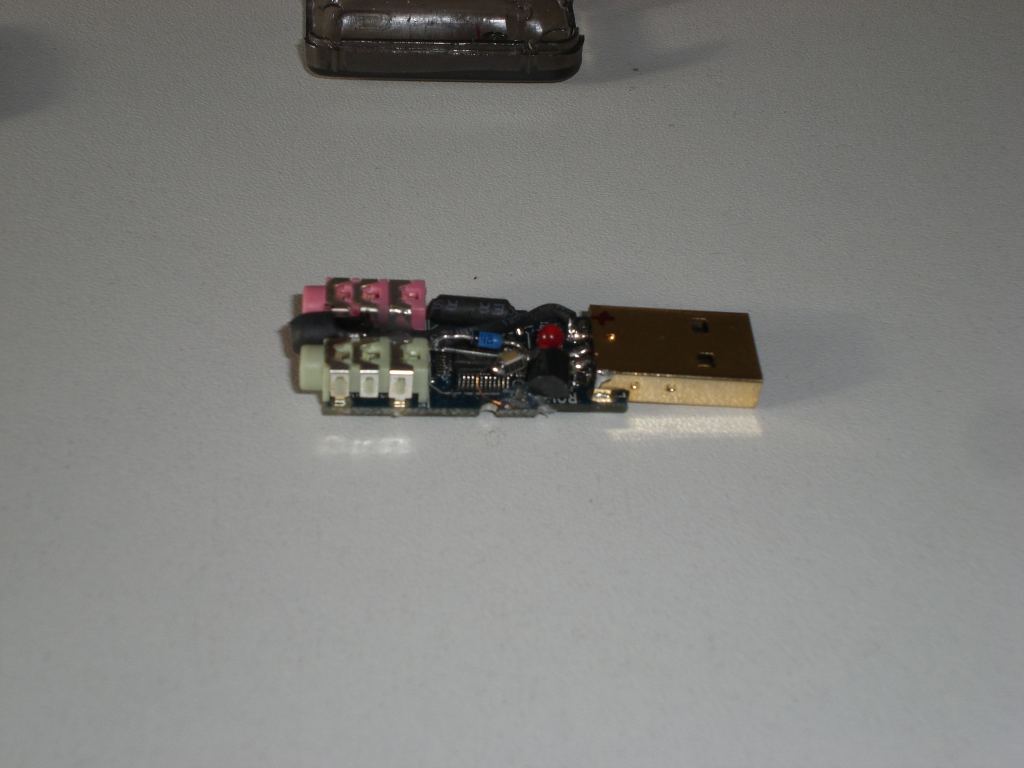
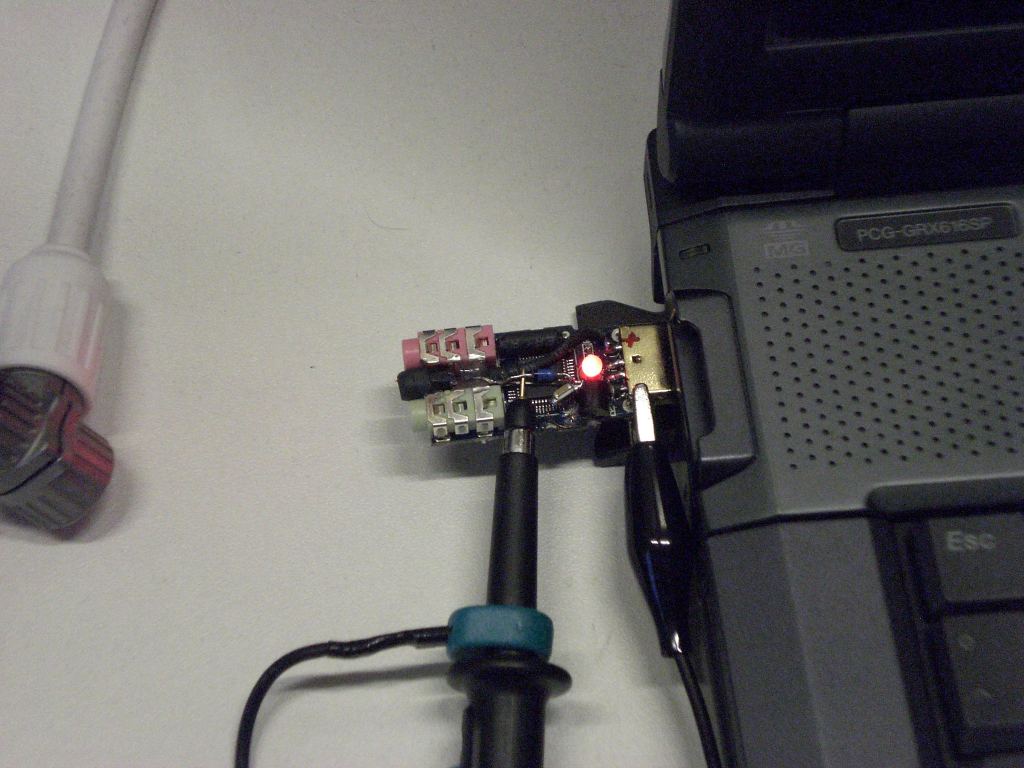
The CM108 is quite small |
| |
Some thin enamelled wire |
To connect the SPDIFO pin of the CM108 |
| |
A flat file |
To mod the LED and the case |
| |
A drill |
To drill a hole in the LED |
Christian Auer
website@auer-elektrotechnik.com
Last update: 17.11.2007